Assembly
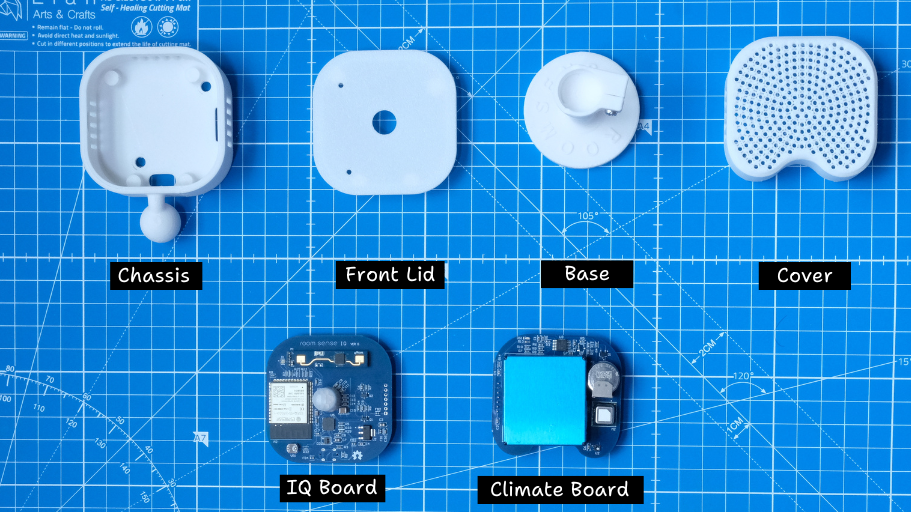
A key feature of the enclosure design is its simplicity, with all components fitting together seamlessly to ensure straightforward and efficient assembly.
Note: Ensure you take precautions against electrostatic discharge before handling the boards.
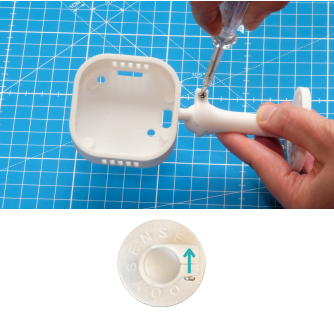
Step 1. Secure the chassis by inserting the ball mount into the base and tightening the screw until the ball mount remains adjustable, with the screw insertion direction shown in the picture.
Important: Avoid over-tightening, as it may damage the chassis elbow.
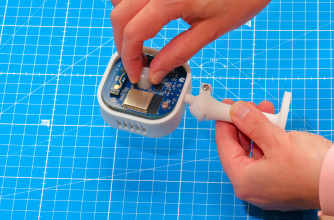
Step 2. Insert the IQ board into the chassis, ensuring it is properly seated on the spacers.
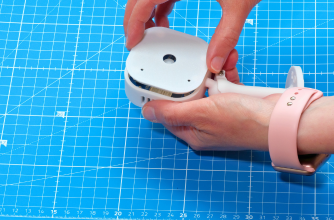
Step 3. Attach the front lid by pressing it until all the snaps click securely into place, ensuring that the holes on the front lid are positioned on the left as shown in the picture.
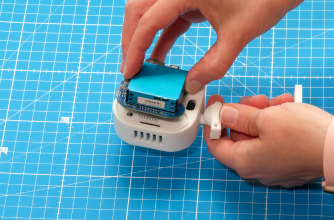
Step 4. To attach the climate board, position it on the backside of the chassis and carefully align the 7-pin header with the corresponding slot. Press the board firmly to ensure the 7-pin header is securely connected to the female connector and that all edges of the board are properly seated within the enclosure.
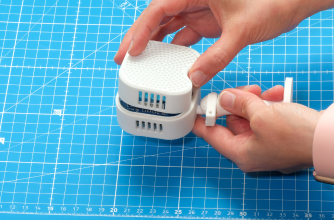
Step 5. Finally, position the cover over the board and press it down until all snaps engage securely.
