Automation Use Cases
After adjusting the basic settings and familiarizing yourself with the sensor's signals and entities, it's time to get into the exciting phase of creating automation.
Important: Due to the rapid response time and high accuracy of the PIR sensor, it is recommended to use the PIR signal (roomsense_iq_<location>_pir_<sn>) to trigger automation. For detecting room vacancy, utilize the radar presence signal (roomsense_iq_<location>_presence_<sn>).
Light Automation
In this part we create a basic light automation using the occupancy entity called roomsense-movement -serialnumber. This automation enables the control of a TP-Link smart bulb based on the presence of individuals in the room. When the room is occupied, the light will be turned on. And, when the room becomes unoccupied for a duration of 20 seconds, the light will be automatically switched off. Follow the steps below to implement this automation:

1. In you Home Assistant go to Settings → Automations & Scenes

2. Create new automation.
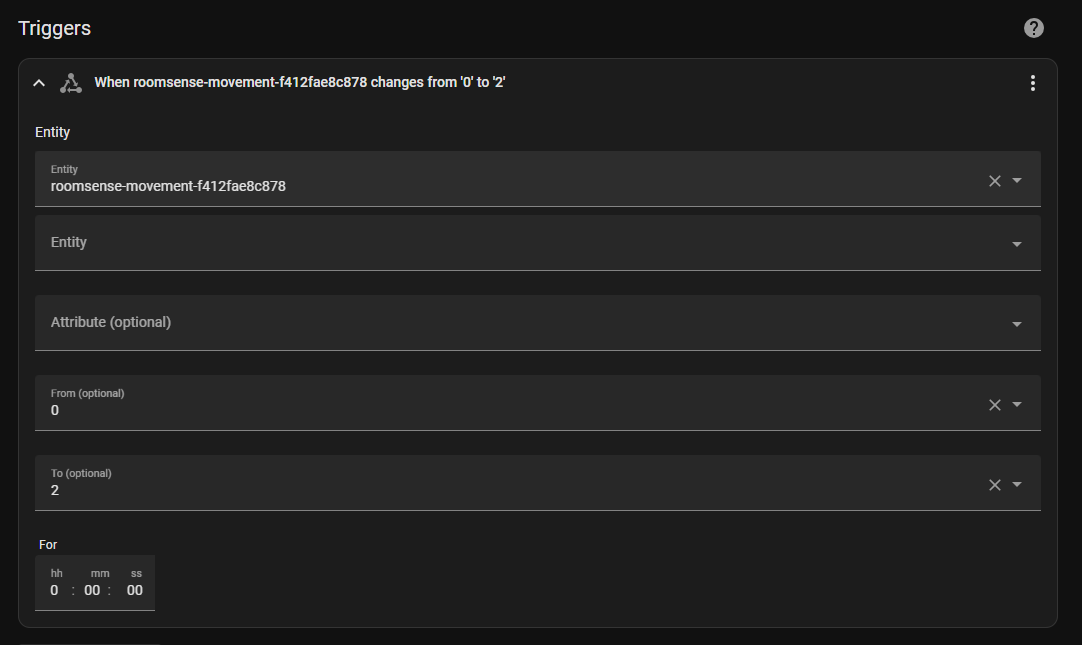
3. Add Trigger --> State
- Entity: roomsense_iq_<location>_pir_<sn>
- From: Off
- To: ON
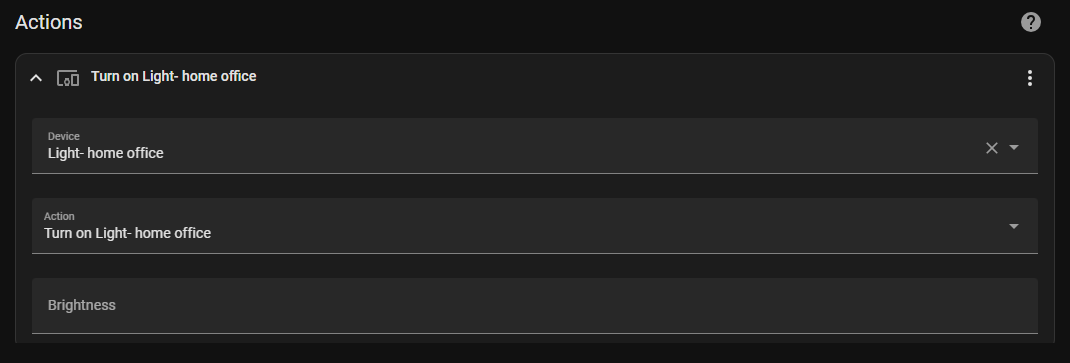
4. Add Action --> Device
- Device: Select the light you want to control
- Action: Turn on the light
- Brightness: 100
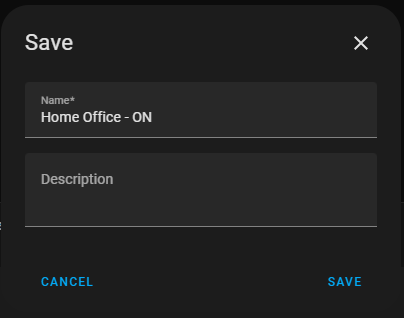
5. Choose a descriptive name for your automation and save it.
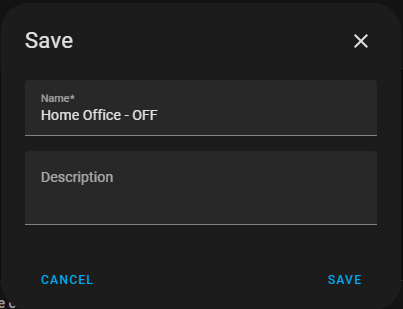
6. Repeat steps 1 to 5 to create the turning OFF automation. Use roomsense_iq_<location>_presence_<sn> as trigger value from 1 to 0.
Automation for TV Watching
Using advanced technology, RoomSense IQ accurately measures the distance to an occupant, that empowers you to establish customized automation zones which are tailored to your needs. This capability can be integrated into a smart home automation system to enhance the TV watching experience. The sensor detects the presence and distance of occupants in a room, specifically focusing on the seating area. When a person sits on a couch located approximately 250 cm away from the sensor, the system triggers an automation that dims the lights and turns on the TV. In this use case we take advantage of the Distance To Target entity roomsense-distance-<serial-number>.


1. In you home assistant go to Settings → Automations & Scenes

2. Create new automation.
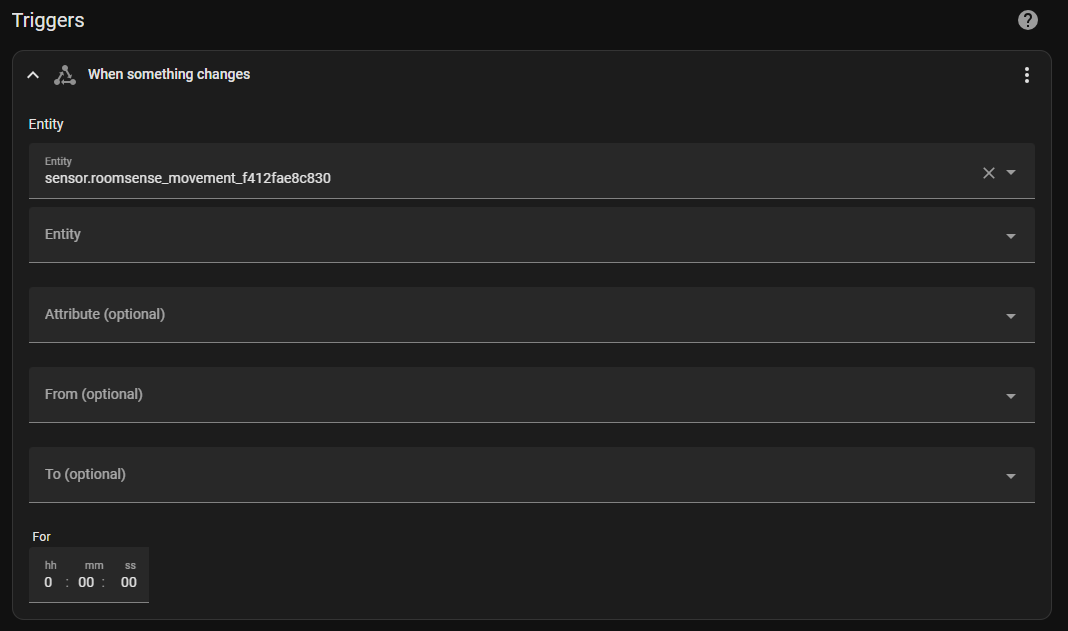
3. Add Trigger --> State
- Entity: roomsense_iq_<location>_pir_<sn>
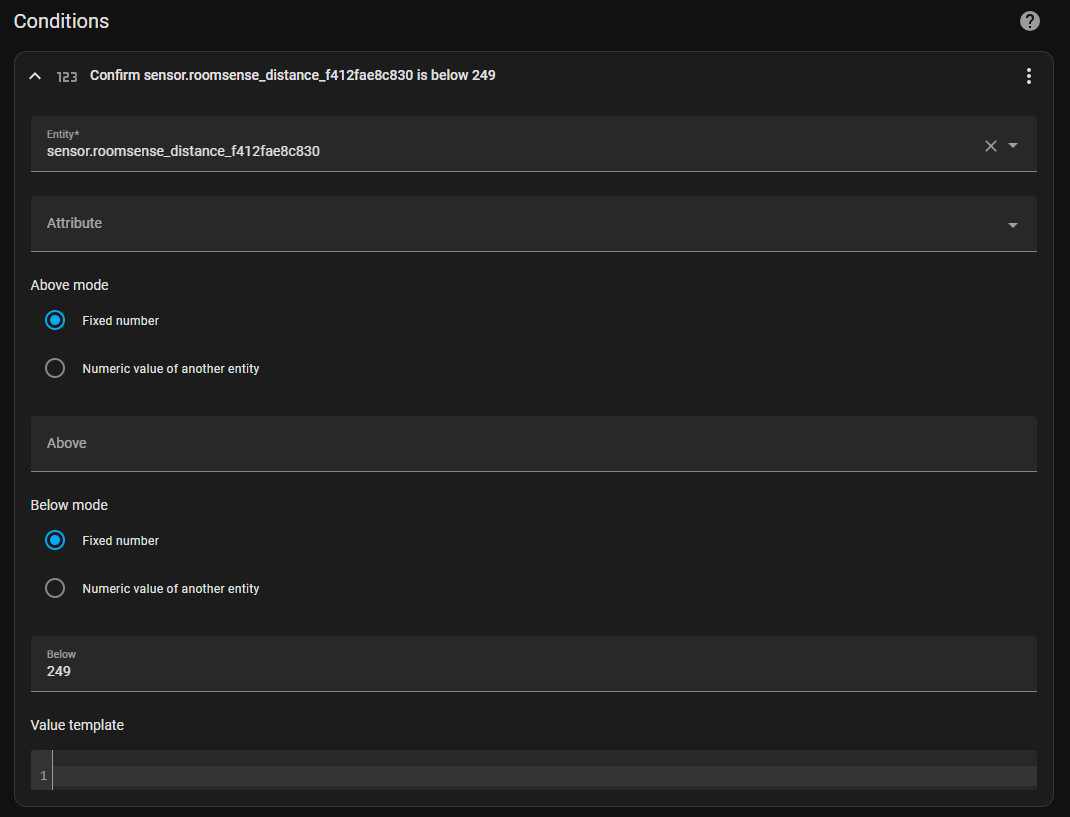
4. Add Condition
- Entity: roomsense-distance-<serial-number>
- Below mode: Fixed number
- Below: 300 (to add an extra margin)
*Note: Choose 'Above mode' for undimming.

5. Add Action --> Device
- Device: Select the light you want to control
- Action: Turn on the light
- Brightness: 5 (Dim)
*Note: Set Brightness 100 for undimming.

6. Add Action --> Call Service
- Service: Media player: Turn on
- Targets --> Choose Entity --> your TV
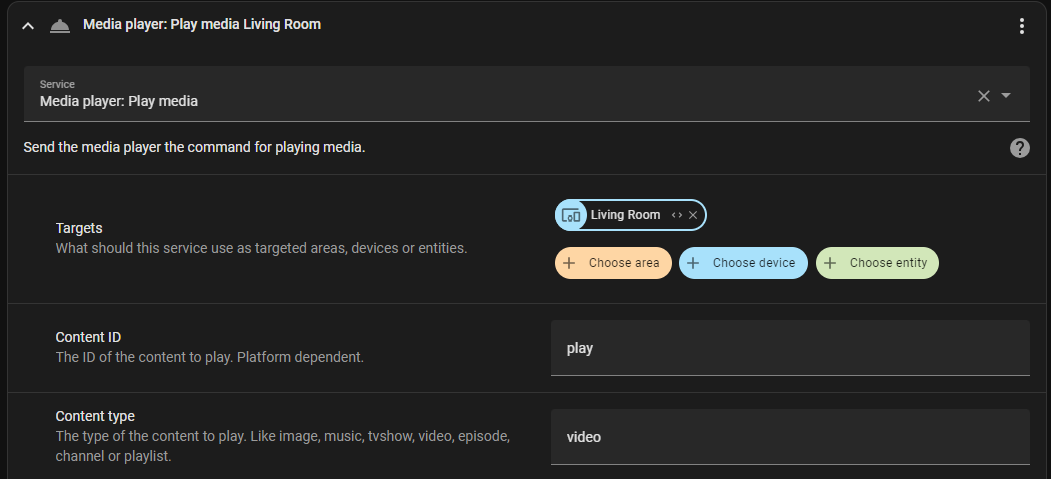
6. Add Action --> Call Service
- Service: Media player: Play media
- Targets --> Choose device --> your player like Apple TV
- Content ID: Play
- Content Type: Video
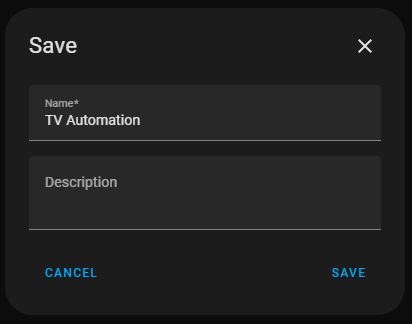
6. Choose a descriptive name for your automation and save it.
* In the Pro Features section we will discuss ProxiSense which is a better option for Proximity-Based Automation.
Amazon Alexa - Let Music Follow You Room to Room
In this particular scenario, we establish a connection between Amazon Alexa and RoomSense IQ to enable the playing of music based on our presence in a room. We use IFTTT integration and Virtual buttons in order to trigger Amazon Alexa routines.
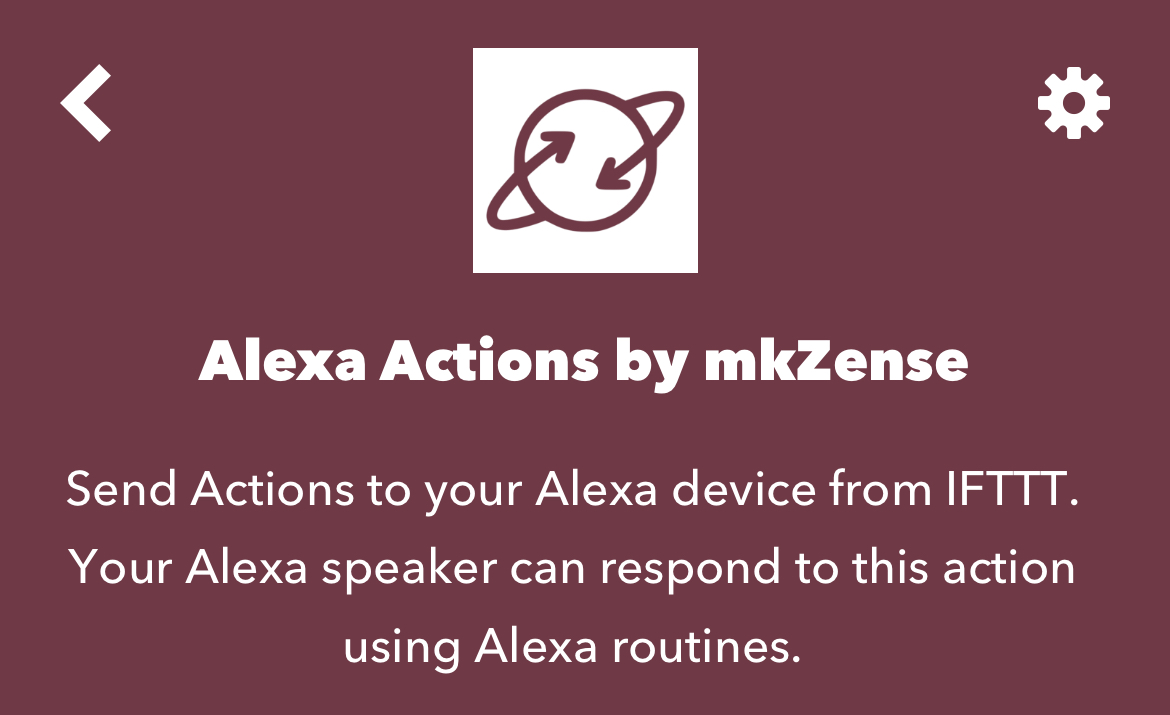
1. Connect the mkZense skill to your IFTTT in order to establish a connection between IFTTT and your Alexa app.
Note: The skill is free for the first 3 button triggers and $5 per year for unlimited and creates a virtual device that Alexa will detect which can then be added to routines.
2. In you Home Assistant go to Settings --> Devices & Services and add the IFTTT integration

3. Create Automation and Add Trigger →
- Entity: roomsense_iq_<location>_pir_<sn>
- From: Off
- To: On

4. Add Action --> Call Service
- Service: IFTTT: Trigger
- Event: Pick a name for the event to send
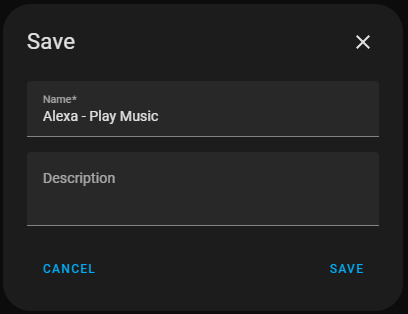
5. Choose a descriptive name for your automation and save it.
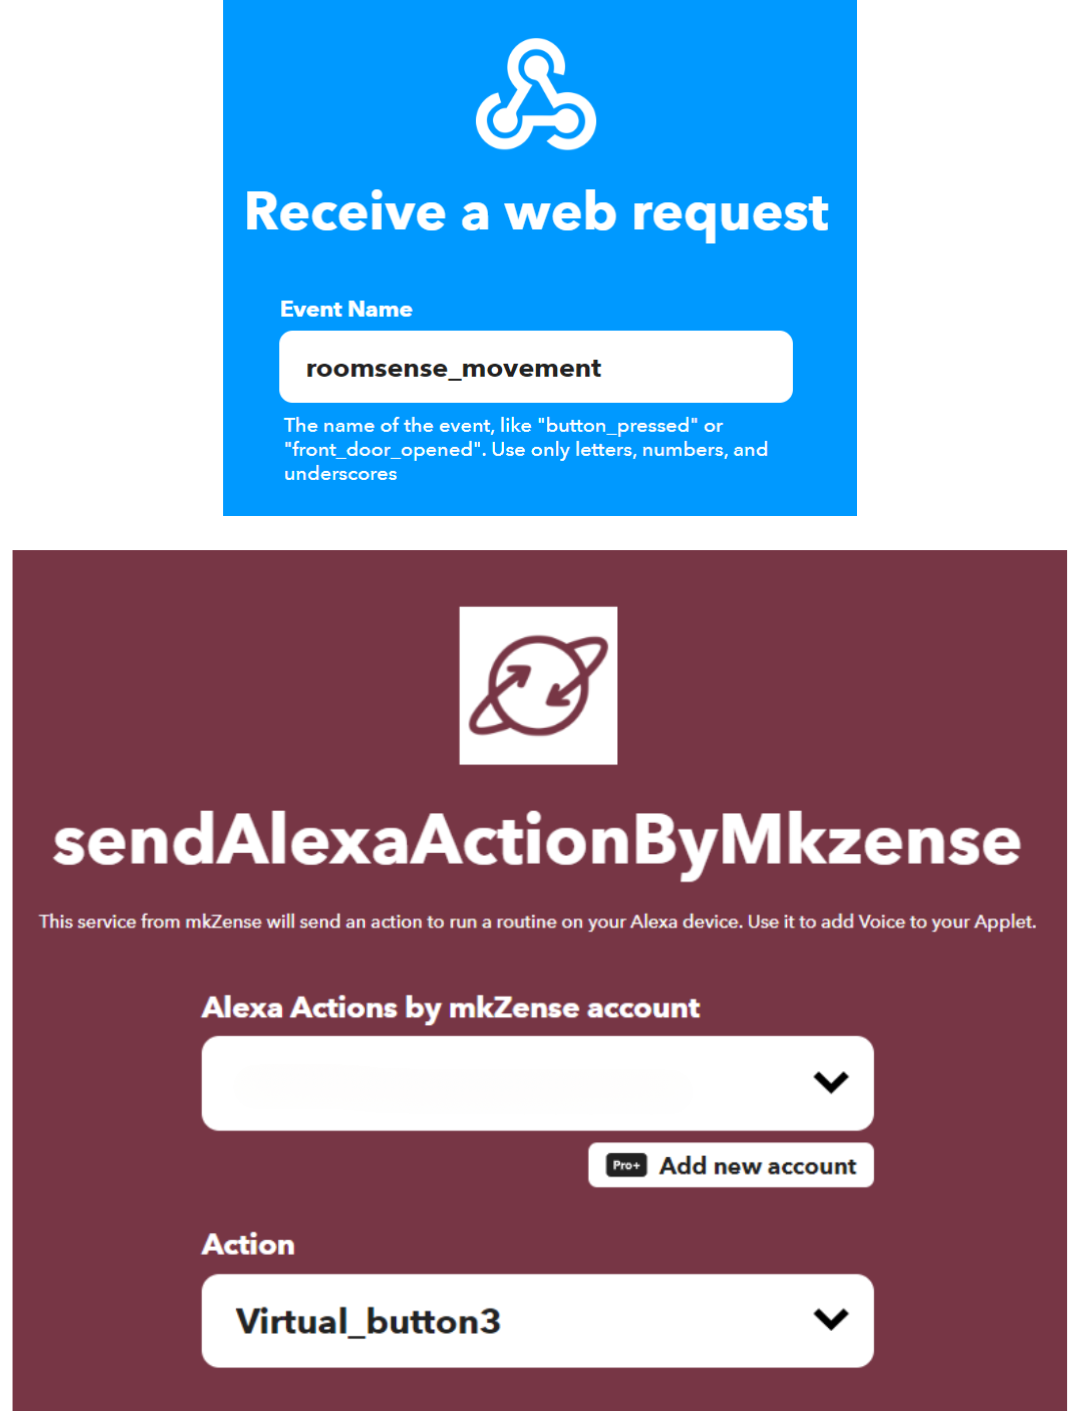
6. Go to your IFTTT account and create a new Applet.
- If This → Search for Webhooks → Receive a web request → Event Name → Put the same name you chose in step 4.
- Then That → Search for mkZense → choose sendAlexaActionsByMkZense → Select your account and the Virtual button
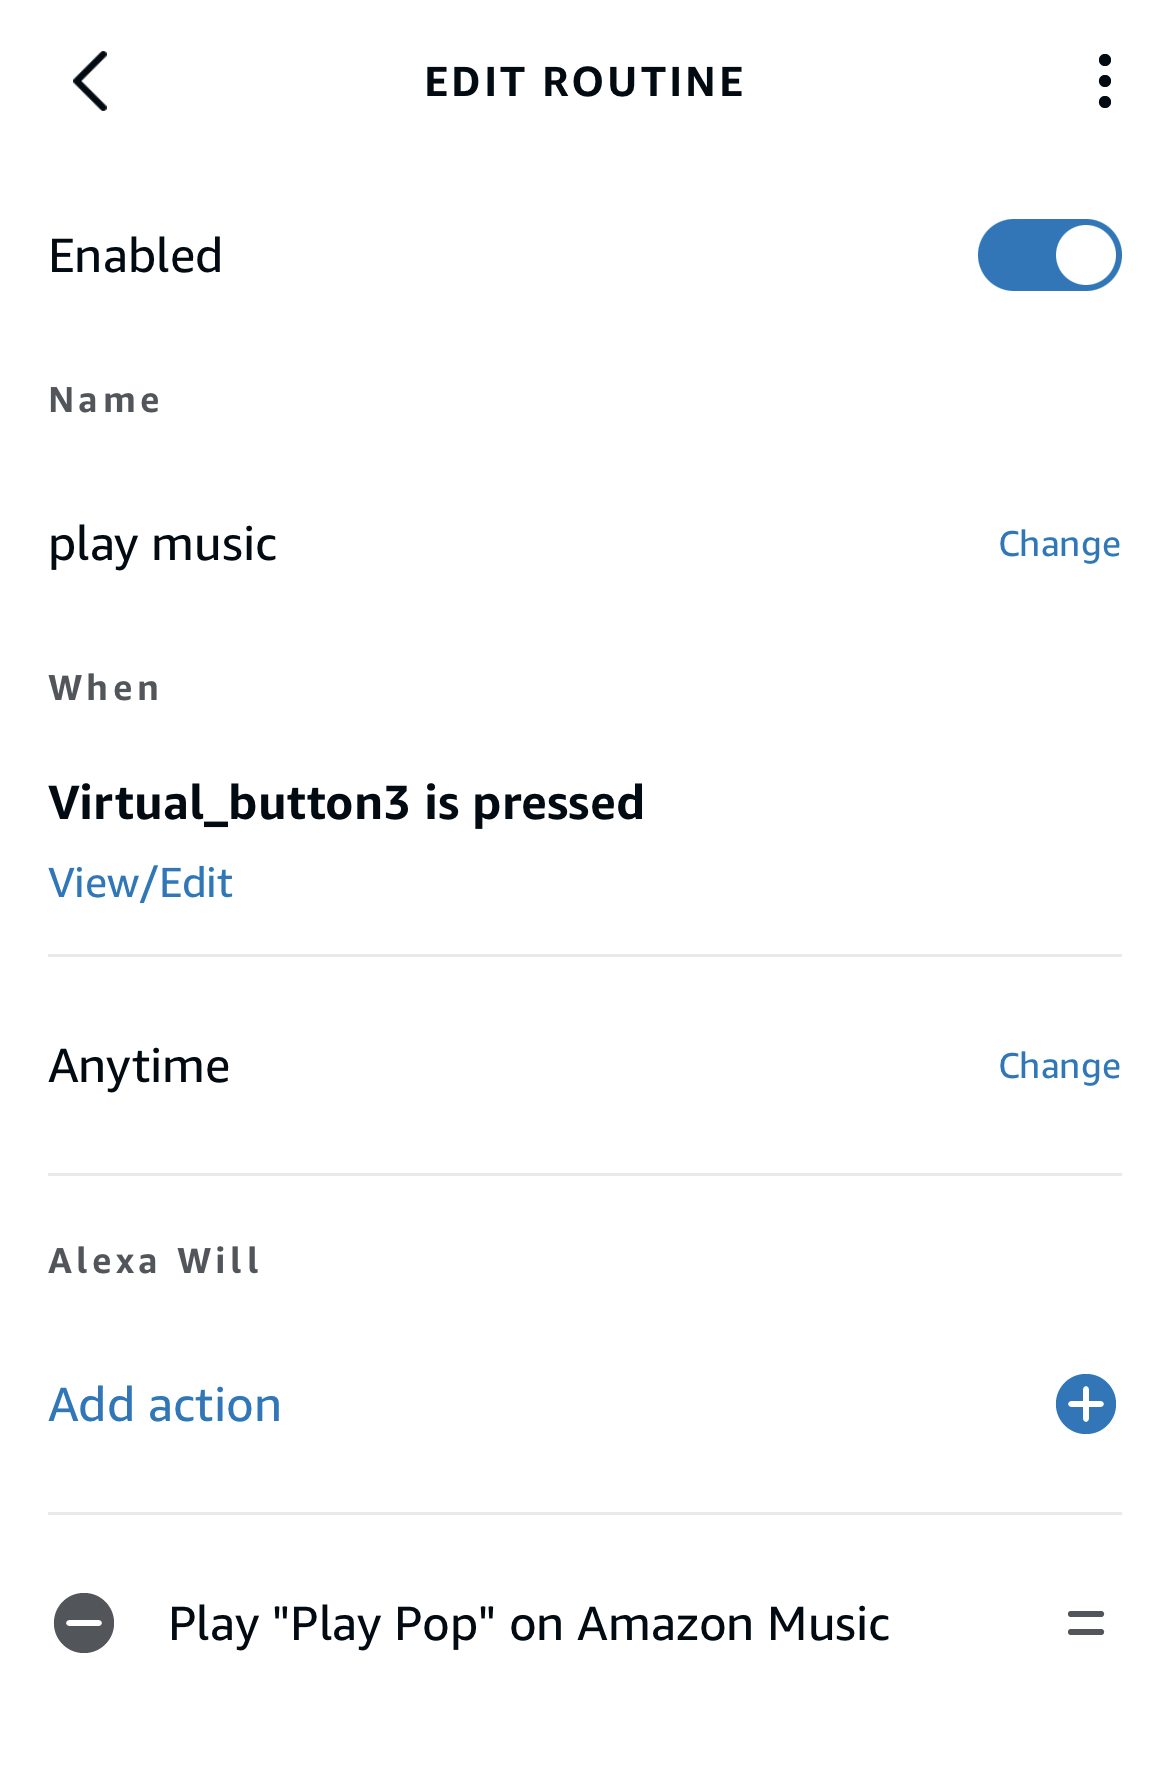
7. Go to your Alexa app and create a new routine.
- when: choose the same virtual button in step 6.
- Add action: Play "Play Pop" on Amazon Music
Note: For vacant room you can choose "Stop audio on my Echo device"
